In this guide, we will see how we can change the DNS settings on a Windows 11 PC.
Why Should You Change DNS on Windows PC?
Usually, your Internet Service provider (ISP) will have its own DNS service. In normal cases, whichever website you visit will be resolved from the ISP’s DNS. However, the most common issues with such DNS are they often slow down, crash a bit, or becomes unreliable. Also, your privacy is a major concern here. When you visit mashtips.com, the DNS looks up for the IP Address assigned to it and will show you the site after resolving it. If the DNS becomes slower, it will take time until the website loads. If your internet connection becomes slower at times, it might be due to the DNS issue (not always). The only way to find out the problem and solve it is to change the DNS setting to a more reliable and faster DNS. If you are on Windows 11 PC and facing internet issues that you think are because of the DNS, we will walk you through the detailed steps to change DNS on Windows 11. Other than internet speed issues, there might be many reasons you want to change DNS settings. With OpenDNS, it is even possible to filter and block certain websites and force Safe Browsing for your kids.
Change DNS Settings on Windows 11 PC
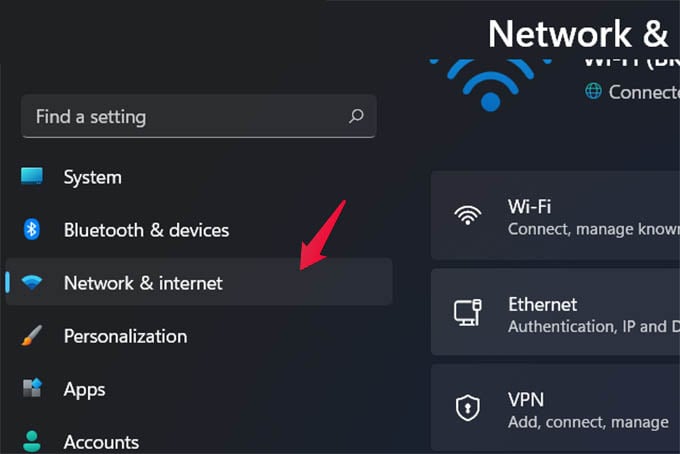
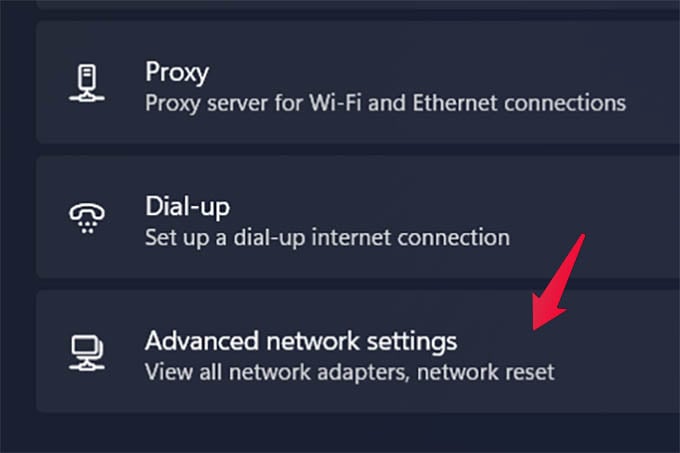
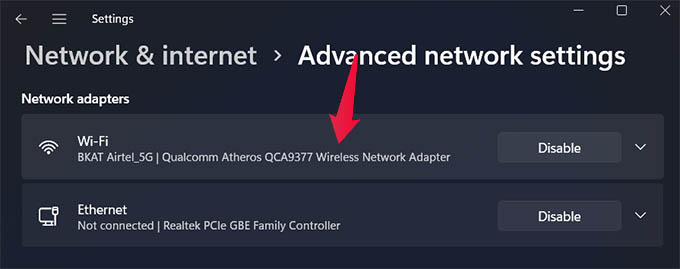
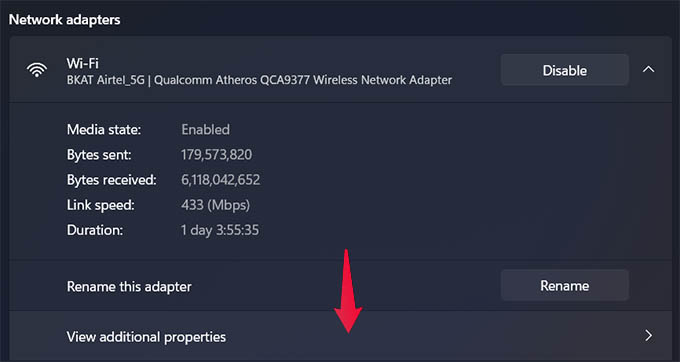
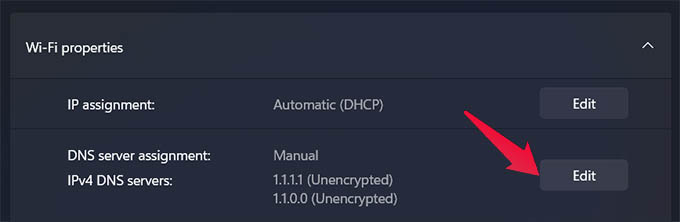
It was quite easy to change the DNS settings on Windows 10 computers. If your PC runs on Windows 11, the steps are a bit different (and might seem easier). Let’s see how to change DNS on Windows 11. First of all, launch the Windows Settings app by pressing Windows Key + I keyboard shortcut. From the settings, click on “Network & Internet” from the left pane. On your screen, scroll down and click on the “Advanced Network Settings” option at the bottom. From the next screen, take a look under the “Network adapters” heading at the top. Now, you have to choose and click on the network adapter you want to change the DNS settings on Windows 11. If you are using the Internet over WiFi, click on the WiFi adapter. Likewise, choose Ethernet if you use a LAN connection. Click on the “View Additional Properties” option from the expanded view of the network adapter. This will take you to another window where you will have to click on the “Edit” button against “DNS Server Assignment.” Enter your preferred DNS IP address and alternate DNS address on the popup window. There, you can also choose the DNS encryption protocol you want to use while browsing the internet. Your data will be protected if you choose “Encrypted only” or “Encrypted preferred.” Then, click on Save once you are done.
Which Are the Best DNS to Use
DNS Server setting for your Windows 11 PC is set t Automatic (DHCP) by default. What this means is that your internet service provider chooses which DNS to use while you access the internet. What we tried doing here is to avoid this action and set a permanent DNS address to look up always we surf the internet. You now know how to change the DNS settings on Windows 11, but which DNS should you use? If you are asking yourself the same question, here are some of the popular and reliable DNS servers you can use. As we said above, there might be tons of reasons you want to change the DNS settings on your home PC. The listed DNS servers are proven reliable and working well for all scenarios. Choose the most suitable DNS for you and follow our guide above to change the DNS settings on your Windows 11 PC.
Δ